Using Workshop
Workshop is the integrated development environment (IDE)
on the new Sun workstations. This enviroment presents you with
a graphical user interface to edit, compile and debug your C++, C and Fortran
programs. These instructions help set your account up for using this
new software. Also, you can find help here on starting the editor,
the compiler and the debugger. Note that the IDE is usable only from
the Unix workstations in the lab in Adams 204 and on the faculty machines
in the computer science department. You cannot use this environment
from home.
I shall assume at the point that you have successfully logged in to
your account.
Phase I: Checking for workshop in your shell search path
-
Open a terminal window. You can do this by right clicking your mouse
on the display's workspace (the area of your screen where there is no window),
moving to the Tools menu and then selecting Terminal.
-
You should shortly see either a '$' prompt or a prompt of the form
'Ultra#', where # is the number of the workstation that you are
currently using.
-
Type the command pwd and hit the enter key. If you see the
on the next line a '/' (slash) all by itself, your account has not
been correctly set up. Inform your instructor and do not follow these
instructions any further until you have a properly working account.
If you see a string of the form '/home/XXXXXX', where XXXXXX
is your username, you are set to go.
-
Now type the command workshop and hit enter. If the response
to this command is workshop: Command not found then proceed to Phase
II, otherwise you should see a window like this:
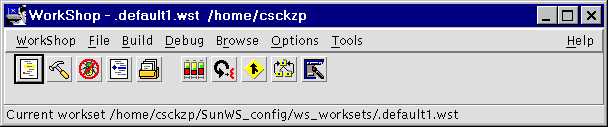
and are ready to use workshop, so proceed to Phase III.
Phase II: Adding workshop to your shell search path
-
Open a text editor window. You can do this by right clicking your
mouse on the workspace, moving to the Applications menu and then
selecting
Text Editor.
-
Click on the File menu and then on the Open menu item.
In the Enter File Name box type in the name .cshrc (notice
the 'dot' before cshrc in the file name).
-
Depending on how you account was set up, you may either see a blank screen,
or some commands on this page. In any case, we will now add workshop
to the list of programs you can access.
-
At the end of the file add the following: set path=(/opt/SUNWspro/bin
$path) and hit enter.
-
Now click on the File menu and then on the item Save.
Again click on the File menu and then on Close.
-
On the center of the front panel of your desktop you will find an EXIT
button. Click on it, and then select on OK when the dialog
box show up.
-
Log in again. In the terminal window that shows up, type the command
workshop.
You should see a small window pop up on your screen. If you encounter
an error, ask your professor.
Phase III: Using workshop
-
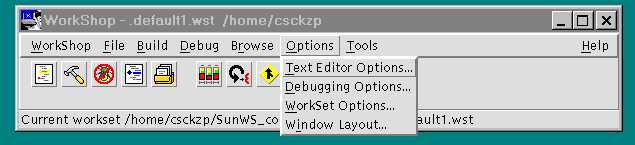
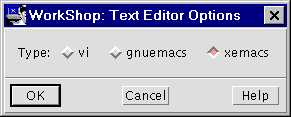
Click on the Options menu in
workshop and then on Text Editor
Options. Select xemacs as your editor and then click
on
OK to close that window. From now on xemacs will
be your editor.
-
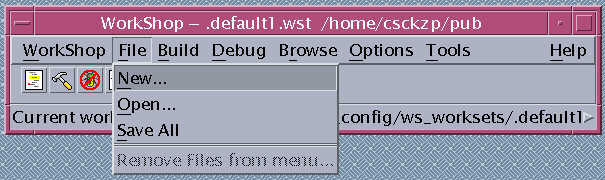
You are ready to now ready to edit and compile you file. Click on
the File menu and then on New
to edit a new file or on Open to edit an existing file.
-
Ensure that all your C++ files end with the .C
extension (note that this is an UPPERCASE C) . If you don't,
your programs will not compile.
-
In the window that pops up type in your program (or edit if for errors).
Click on the File menu and then on Save to save your file.
-
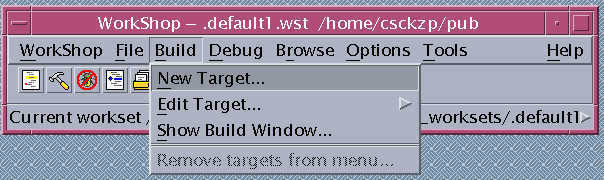
To set your file up for compilation, you need to perform the following
step once per program: Click on Build
and the on New Target...
In the Target text box, type in the name of your file without
the .C extension. Then click on OK.
-
Now click again on the Build menu and select the file you want to
compile, from the list of files that appears after the Show Build Window...
menu item. A new window pops up and your program compiles.
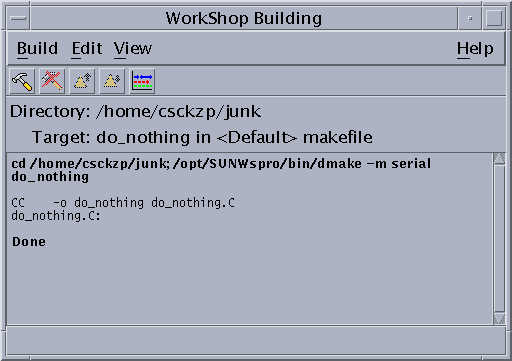
You can click on any blue error line that appears and have that line
appear in your editor window.
-
After you have successfully compiled your program, you can run it by click
on Debug and then on the Run
menu item.
-
Good luck!